
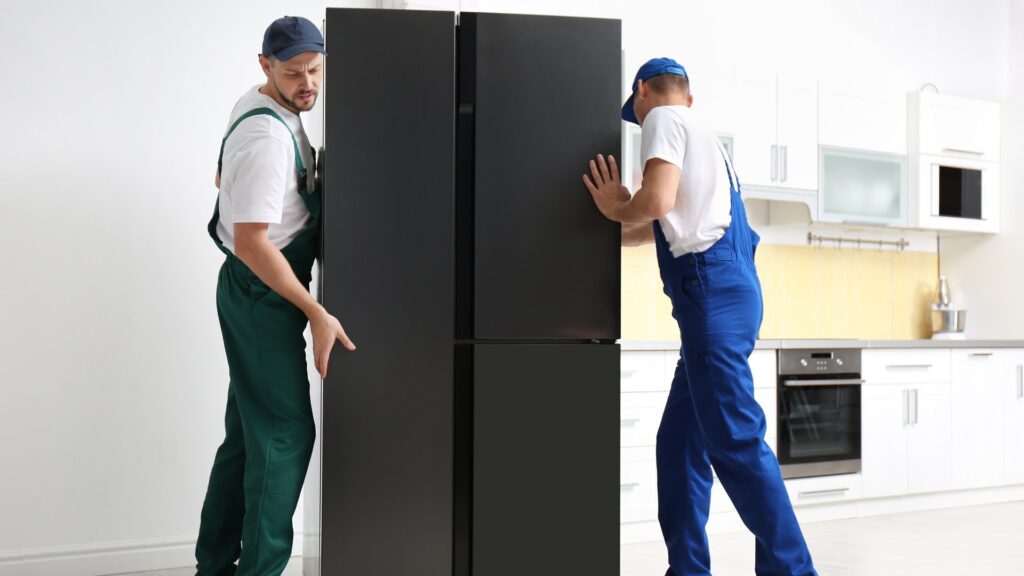
Electrolux refrigerator installation is mostly straightforward, and then there is the water line. Almost every problem we are called to in the first year of a new refrigerator’s life traces to that connection: how it was made, what it was made from, and whether anyone left a way to shut it off. This guide covers the clearances and leveling briefly and the water line properly, because that is where the money and the water damage are.
Position, clearance and leveling
A refrigerator rejects heat through a condenser, and the heat has to go somewhere. Follow the clearances in the instructions — typically an air gap at the rear, a little at the sides and more above — and do not build the appliance into a tight alcove that was sized by eye. A cabinet starved of air runs the compressor longer for the same result, and the symptom appears in the first warm week as a refrigerator that will not hold temperature.
Keep it away from a range, a dishwasher and direct sun where the layout allows. Where it cannot be avoided, expect the appliance to work harder and keep the condenser clean more often.
Level it side to side, and set it very slightly higher at the front so doors swing closed rather than drifting open. Check the doors align once the appliance is in place and loaded — a door that looks square empty can sit differently with a full shelf in it. A door that does not close on its own is the origin of most “it frosts up” calls a year later.
The water line, properly
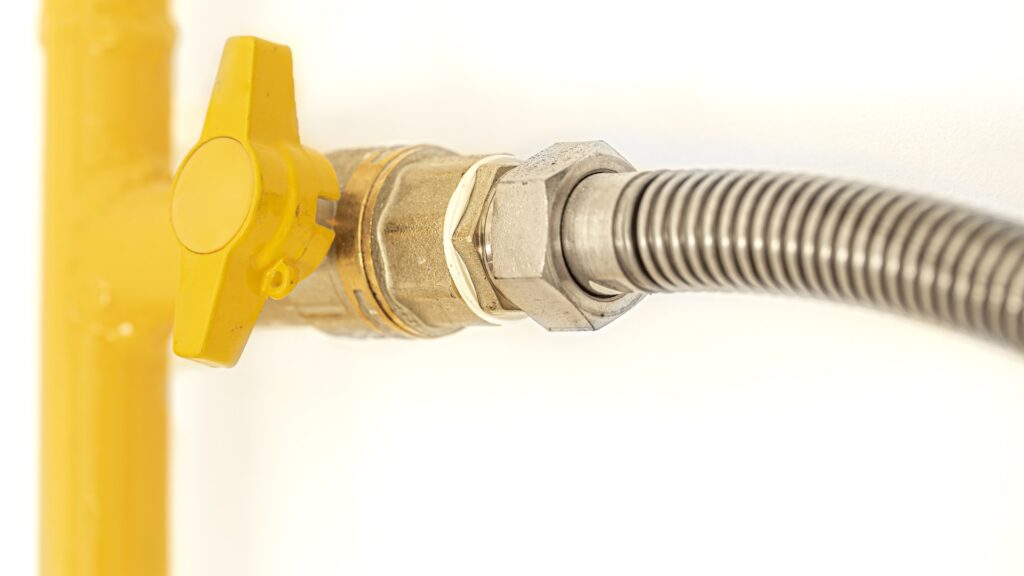
What to run. Braided stainless steel line or copper. Both survive being pushed against a wall, both tolerate movement, and both can be replaced without cutting into cabinetry. Avoid the thin gray plastic tubing sold in cheap connection kits — it splits at the fitting, and it fails without warning behind an appliance nobody moves.
Where to take the supply from. A dedicated cold supply with its own quarter-turn shutoff valve, positioned so you can reach it without pulling the refrigerator out. This is the single most valuable thing an installer can do for a household, and it takes minutes at the time.
What not to use. Self-piercing saddle valves. They clamp onto a pipe and punch a small hole, and they are responsible for a large share of slow ice makers and weeping leaks. If one is already fitted, replacing it with a proper valve is worth doing at the next opportunity.
Leave a service loop. Enough slack, coiled neatly behind the appliance, that the refrigerator can be pulled out fully without straining the connection. Without it, every future service visit stresses the joint.
Commissioning the water system
- Open the shutoff slowly and check every joint with a dry tissue, not by eye.
- Fit the water filter, and note the date somewhere you will find it again.
- Run several quarts through the dispenser to purge air. The first water will sputter and may be cloudy; that is air, not a fault.
- Discard the first two or three batches of ice. They carry manufacturing residue and the taste of new tubing.
- Check the joints again a day later, and once more after a week.
Ice production takes time to reach normal — a new ice maker is not slow, it is filling and freezing from cold. Our page on an ice maker not making ice covers the difference between a slow start and a genuine fault.
The filter, which people meet twice
Before you push it back against the wall
Five things are much easier now than later:
- photograph the rating plate, inside the fresh food compartment, for model and serial;
- confirm the shutoff valve is reachable and that everyone in the household knows where it is;
- check the power cord is not trapped and not resting against the condenser;
- make sure the service loop is coiled, not kinked;
- leave the appliance standing for the period the instructions state before switching on, if it was transported on its side.
That last one is not folklore. Oil migrates out of a compressor lying down, and starting the appliance before it has drained back is how a new refrigerator arrives with a compressor problem.
The first week
Expect a new refrigerator to run more or less continuously for the first day as it pulls the cabinet down, and expect the temperature to settle over a couple of days rather than immediately. Load it gradually rather than filling it from a warm second refrigerator all at once. Check underneath for water daily for the first week — a slow joint shows itself long before it becomes a flood, and a tissue under the connection will find it before the floor does. Our refrigerator maintenance guide covers the routine from there.
When to call
Call when there is any water under or behind the appliance, when the dispenser runs slowly with a fresh filter, when ice production has not reached normal after a few days, when doors do not close by themselves, or when the cabinet will not reach temperature with clearances verified.
We are an independent repair company and not a factory service arm. Pricing starts from a diagnostic visit and we confirm the estimate before any work begins. Electrolux refrigerator repair covers valves, dispensers, ice makers, compressors and controls, and you can schedule a visit online.