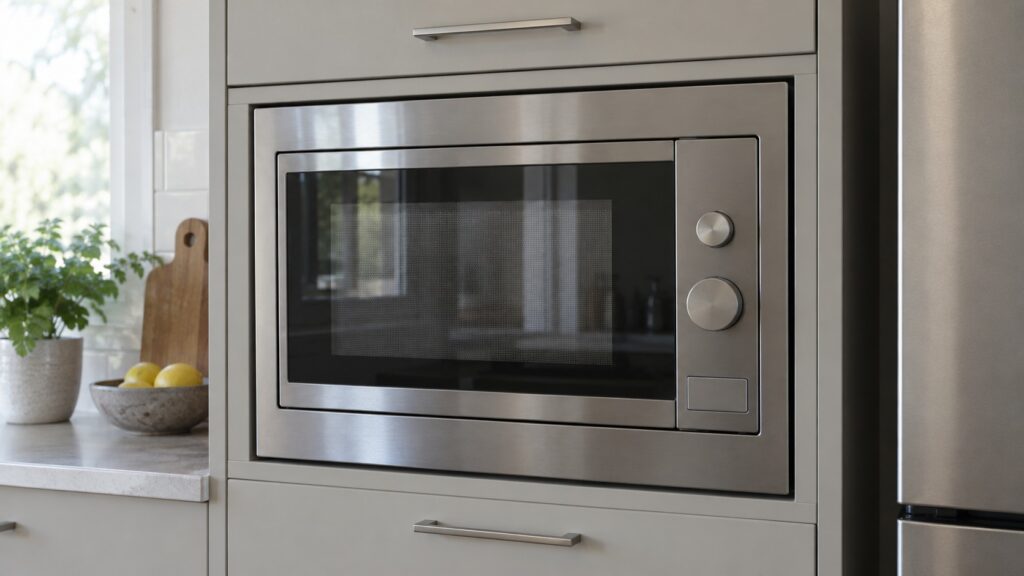
An Electrolux built in microwave installation comes down to four things: a cabinet opening that matches the cutout dimensions in the installation instructions, a shelf or frame strong enough to carry the weight, the electrical supply the nameplate calls for and the clearances around the unit that the manual lists. The Electrolux built-in models on this site, such as the EMBD3010AS, are 30 inches wide with a drop-down door, but the opening size, the trim and the mounting depend on the exact model, so the instructions that came with your unit are the final word on every measurement.
What do you need to know before installing a built-in Electrolux microwave?
A built-in microwave is not a countertop oven set inside a cabinet. It is designed for an enclosure, with a vented design, a door that opens in a set direction and a trim or frame that finishes the opening. The Electrolux built-in models on this site are 30 inches wide with stainless finishes. The EMBD3010AS is listed as a current built-in with a 1.6 cubic foot cavity, 10 power levels, Sensor Cooking, Convection Cooking and a Child Lock. The E30MO75HPS, a discontinued ICON model, lists 1.5 cubic feet and 900 watts. If your model is in the combination wall oven line, like the E30MC75JPS, the microwave is part of a larger wall oven installation and needs a different cutout.
Do not place a countertop microwave in a cabinet because it happens to fit. Only a unit that the manufacturer lists for built-in use should go into an enclosure, since a countertop model needs open air around it. If you are looking at an over-the-range model instead, that is a different installation, covered in a separate guide. Our Electrolux microwave venting tips explain how air moves around these units.
How do you measure the cabinet opening for a built-in microwave?
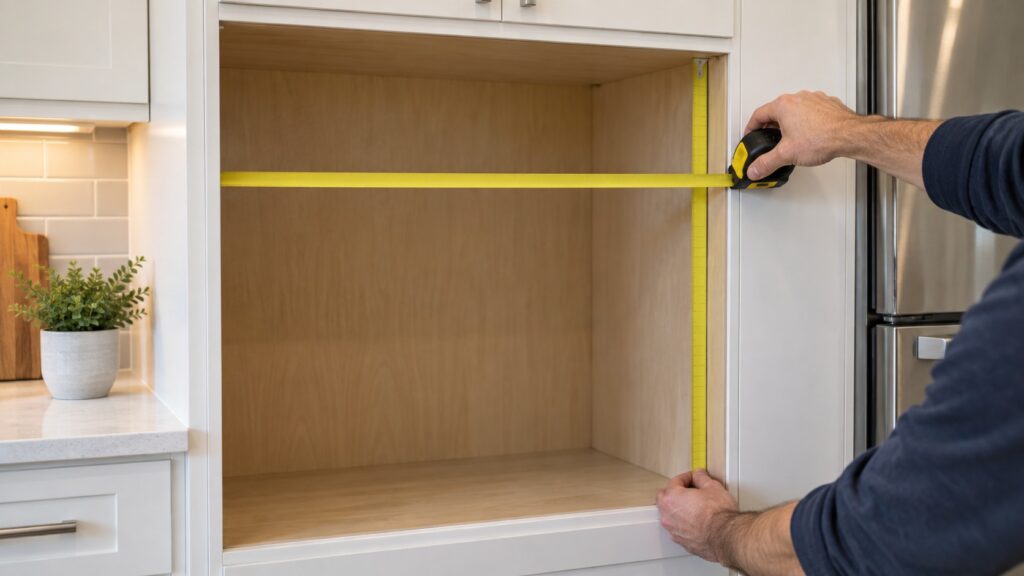
Measure the opening before you buy, and again before you install. Use a tape measure to take the height, the width and the depth of the niche, and take each at more than one point, because cabinets are rarely square. Write the numbers down, and compare them with the cutout dimensions in the installation instructions for your model. The opening has to be at least as large as the instructions say, with the trim and the clearances included. If a number is a little off, do not cut the cabinet to fit before checking with the manual or with a cabinet maker.
The instructions also tell you how far the unit sits back, how much room the door needs to swing down and whether a trim kit is needed to close the gaps. A gap that is too small blocks the air that the unit needs, and a gap that is too large looks untidy and needs a trim to cover it.
What kind of support does a built-in microwave need?
The unit is heavy, and the weight sits on whatever carries it. Look at the shelf or the cabinet floor under the opening. It should be flat, level and firmly fixed to the cabinet frame, and it should be rated for the weight of the unit with its contents. We do not give a weight, because it differs between models: find it in your installation instructions. Use shims only if the manual allows them and use the mounting screws or brackets it specifies. Check that the unit is level once it is in place, because a tilted microwave leaves the door out of line and strains the hinge.
Two people should lift and place the unit. Keep your fingers away from the edges while it slides into the opening and do not carry it by the door or the handle.
What are the electrical needs of a built-in microwave?
A built-in microwave needs a grounded outlet or a connection of the kind the nameplate describes. The rating label gives the voltage and the amperage for your model, and that is the figure an electrician should use to check the circuit. Do not use an extension cord or a power strip. Plan where the outlet will sit: it should be reachable but not behind the unit where the plug would be crushed against the wall, unless the manual shows that position. If there is any doubt about the circuit, the wiring or the grounding, call a licensed electrician before the installation, and shut the breaker off while anyone works on the supply.
What clearances and ventilation does it need?
The installation instructions give the clearance at the top, the sides and the back, and they give it for a reason. A built-in unit with convection cooking, such as the EMBD3010AS, needs a path for its heat to leave, so follow the manual’s gaps exactly. Leave the gaps open, do not stuff insulation or storage into them and keep the vents on the unit clear of dust. After the installation, run a short test with a cup of water, and check that the door opens fully, closes squarely and that the light and the display work. If you see sparks, smell burning or hear a loud buzz, stop the test and unplug the unit. Our Electrolux microwave maintenance guide describes the checks to repeat through the year.
Can you install a built-in microwave yourself?
Some owners can, if the opening is ready, the outlet is in place and the instructions are clear. The risks sit in three places: the weight of the unit, the electrical connection and the fit in the cabinet. If any of the three feels uncertain, hire a professional installer. A mistake in the cabinet cannot be undone, and a mistake in the wiring can cause a fire. If the unit does not work after the installation, our Electrolux microwave not heating guide and the Electrolux microwave repair service are the next steps. If you are replacing an older unit, our guide on whether to repair or replace an Electrolux microwave may help.