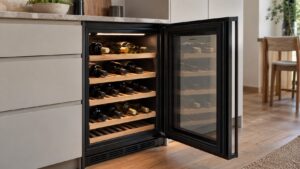
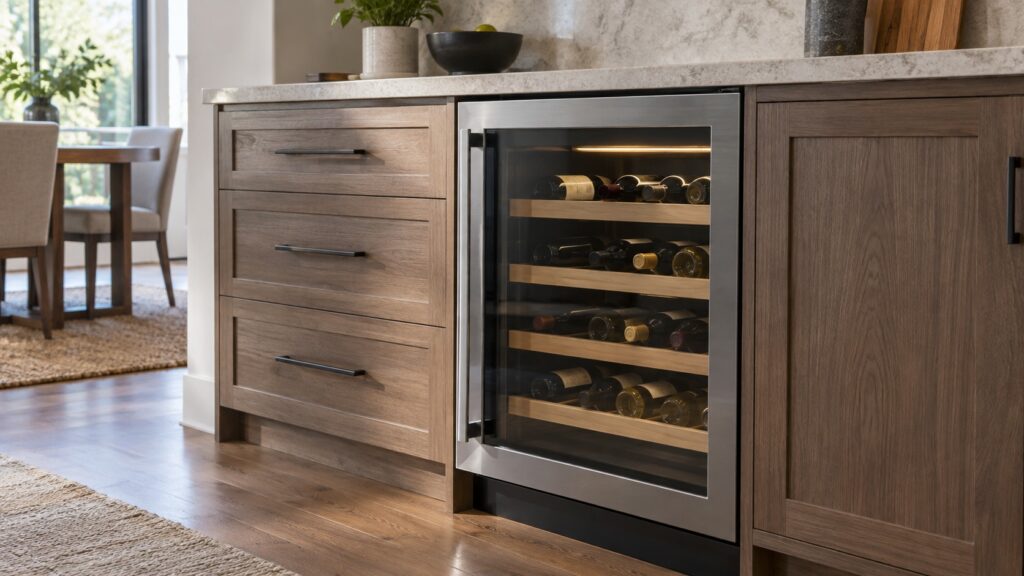
Electrolux wine refrigeration installation requirements center on airflow, leveling and electrical setup — get any one of the three wrong and the unit either struggles to hold temperature or trips a fault within the first few weeks. Unlike a standard refrigerator, most Electrolux wine units are designed to be built into cabinetry, which means the surrounding space has to do part of the cooling job that open air would otherwise do on its own.
Does an Electrolux wine cooler need rear clearance like a refrigerator?
Not always, and this is the single most common installation mistake with built-in units. Many Electrolux wine refrigeration models are designed to vent from the front, specifically so they can sit flush inside cabinetry with no gap behind or above them. Installing one of these models with unnecessary rear clearance does not hurt anything, but installing a rear-venting model flush against cabinetry with no gap will trap heat around the compressor and cause the unit to run constantly without ever reaching its set temperature. The model’s own installation manual is the only reliable source for which venting style it uses — do not assume based on a different appliance in the same kitchen.
Why does leveling matter for a wine refrigeration unit specifically?
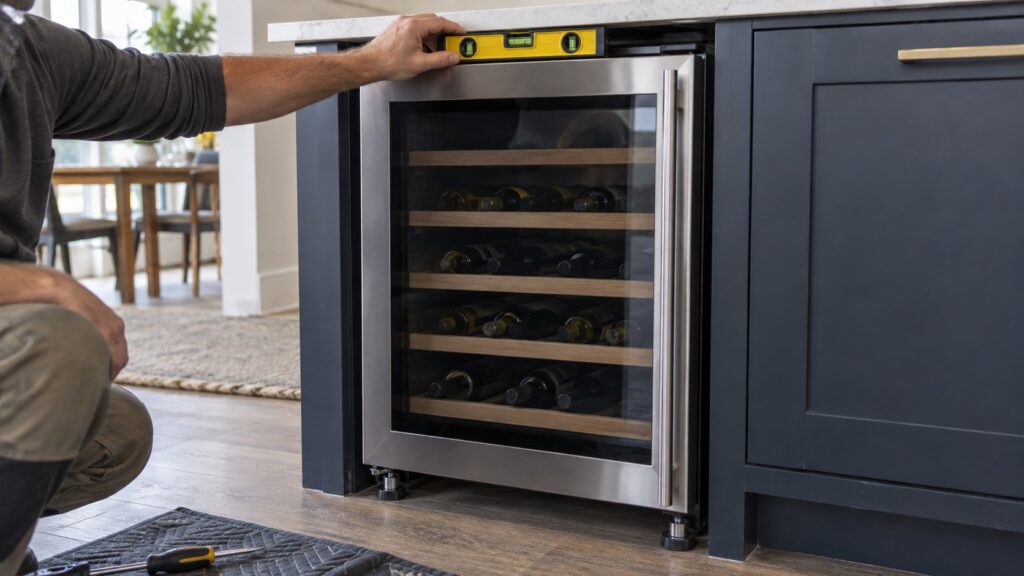
An unlevel cabinet-style unit puts the door out of square with its own frame, which stresses the door seal unevenly and lets warm air leak in exactly where the seal is weakest. Over months, that leak shows up as a unit that runs longer than it should and struggles to hold a steady temperature — a slow drift that looks like a cooling problem but traces back to a leveling problem. Adjustable front feet are standard on most models; use a level across both the front-to-back and side-to-side axes, not just one.
What ambient temperature range does the space need to stay within?
Wine refrigeration units are built to hold a narrow, cool set-point, and most are only rated to do that reliably within a defined room-temperature range — commonly a moderate indoor range, not the wider range a standard kitchen refrigerator tolerates. A garage, an uninsulated basement corner, or a space near a heat source such as an oven or a sunny window can push the surrounding air outside that rated range. The compressor then has to work far harder than it was designed for, which shortens its working life even if the unit never throws a fault code in the meantime.
Does a wine refrigeration unit need its own electrical circuit?
It needs a dedicated, properly grounded outlet, and it should not share a circuit or an extension cord with other appliances. A wine unit’s compressor draws a steady, moderate load rather than a heavy startup surge, but running it off a shared circuit with something that does draw a surge — a microwave or a garbage disposal, for instance — can cause the wine unit’s compressor to see voltage dips that shorten its life over time even though nothing trips immediately.
How much clearance does the door need once the unit is in place?
Confirm the full door swing clears any adjacent cabinetry, island, or wall before the unit is permanently secured in its opening, and check whether the specific model offers a reversible-hinge option if the planned location works better with the door opening the other way. This is far easier to change before the unit is built into cabinetry than after.
It is also worth checking the swing against foot traffic patterns in the kitchen, not just against nearby cabinetry. A door that technically clears an island by an inch but opens directly into a walkway used constantly during meal prep creates a daily friction point that a fully open floor plan does not always reveal until the unit is already installed and in use.
What should you check before calling for installation help?
Confirm the model’s venting style (front or rear), measure the cabinet opening against the manual’s exact dimensions including any required gap, and have a dedicated outlet already run to the location. Getting those three things right before the unit arrives avoids most of the return trips installation calls otherwise need.
What tools should be on hand before the unit shows up?
A basic kit covers almost every built-in wine refrigeration install: a bubble or digital level for the front-to-back and side-to-side checks, a tape measure for the cabinet opening and door-swing clearance, a socket set for any anti-tip bracket the model calls for, and a stud finder if the surrounding cabinet run needs a fastening point rather than resting purely on its own feet. None of this is specialized equipment, but having it staged before the unit arrives turns a two-person delivery into a same-day installation instead of a delivery followed by a second trip once someone realizes the opening was never checked with a level in hand.
Does a built-in unit need anything different from a freestanding one?
A built-in Electrolux wine refrigeration unit relies on the surrounding cabinetry to help manage the airflow its venting style needs, while a freestanding unit handles that entirely on its own regardless of where it sits. That difference is exactly why the manual’s stated clearance figures matter more for a built-in installation — a freestanding unit with slightly less side clearance than recommended usually just runs a bit less efficiently, while a built-in unit sealed into an undersized opening with no vent path can overheat its own compressor within weeks. If a kitchen renovation is converting a freestanding spot into a built-in cabinet run, treat the cabinet opening as its own installation project with its own clearance math, not simply a frame built around the old unit’s footprint.
What happens if a wine refrigeration unit is installed incorrectly?
The symptoms rarely show up on day one. A rear-venting unit sealed flush into cabinetry with no gap will often run for weeks holding a temperature close enough to its set point that nothing seems wrong, before the compressor starts running longer and longer to compensate for the trapped heat around it. An unlevel unit behaves the same way — the door seal issue is gradual, not immediate. This delay is exactly why installation mistakes get blamed on the unit itself months later, when the actual cause was set the day it went into the cabinet. Catching venting, leveling and clearance issues before the unit is permanently built in is far easier than diagnosing them afterward, since correcting any of the three usually means pulling the unit back out of its opening. Delivery access is worth confirming at the same time as the cabinet opening, not after the unit arrives at the curb: a built-in wine refrigeration unit’s shipping crate is often wider than the finished appliance, and a hallway or doorway that the finished unit would clear easily can still block the crate it arrives in.
For ongoing care once the unit is in place, see our Electrolux wine refrigeration maintenance guide and our wine refrigeration glossary for the terms used on the model’s own spec sheet. If a unit is already installed but not cooling, our wine cooler not cooling guide covers that separately, and our wine refrigeration buying guide is a good next stop if the space or the unit itself no longer match. Schedule Electrolux wine refrigeration service or book a visit for help matching a specific model to a specific opening.