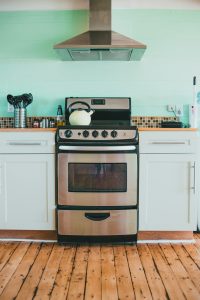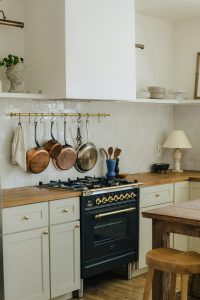
Getting your electrolux range installation right the first time is about more than convenience — a range that is not properly leveled, connected, or anchored can lead to uneven cooking, a gas leak, or a genuine tip-over hazard. None of the steps below are difficult, but each one matters, and skipping the anti-tip bracket in particular is a real safety risk with a range that has a small child nearby.
This guide covers a standard 30-inch freestanding replacement into an existing opening. If the gas line, electrical circuit, or cabinet opening needs to change, bring in a licensed professional for that portion of the work.
Before you start an electrolux range installation
Shut off the gas supply at the valve behind the range, or the breaker for an electric or induction model, before disconnecting the old unit. Confirm the new range’s fuel type and voltage match your home’s existing supply — gas, electric, or induction ranges are not interchangeable on the same hookup without proper conversion work by a licensed technician.
The connections and safety steps that matter
- Gas or power connection. For gas models, use a new flexible connector rated for range use and check every fitting with a soapy-water leak test before restoring gas. For electric and induction models, confirm the correct amperage circuit and outlet or hardwire connection per the installation instructions.
- Anti-tip bracket. Install and engage the anti-tip bracket that mounts to the floor or wall behind the range and hooks into a rear leg. This is a critical safety step: a range can tip forward under the weight of an open door with something heavy on it if the bracket is missing or not engaged.
- Clearance. Confirm the manufacturer’s minimum clearance to cabinets, walls, and any overhead microwave or range hood is met.
- Leveling. Adjust the leveling legs so the range sits flat and level, checked with a level across the cooktop surface, for even cooking and a properly sealed oven door.
Test before you trust it
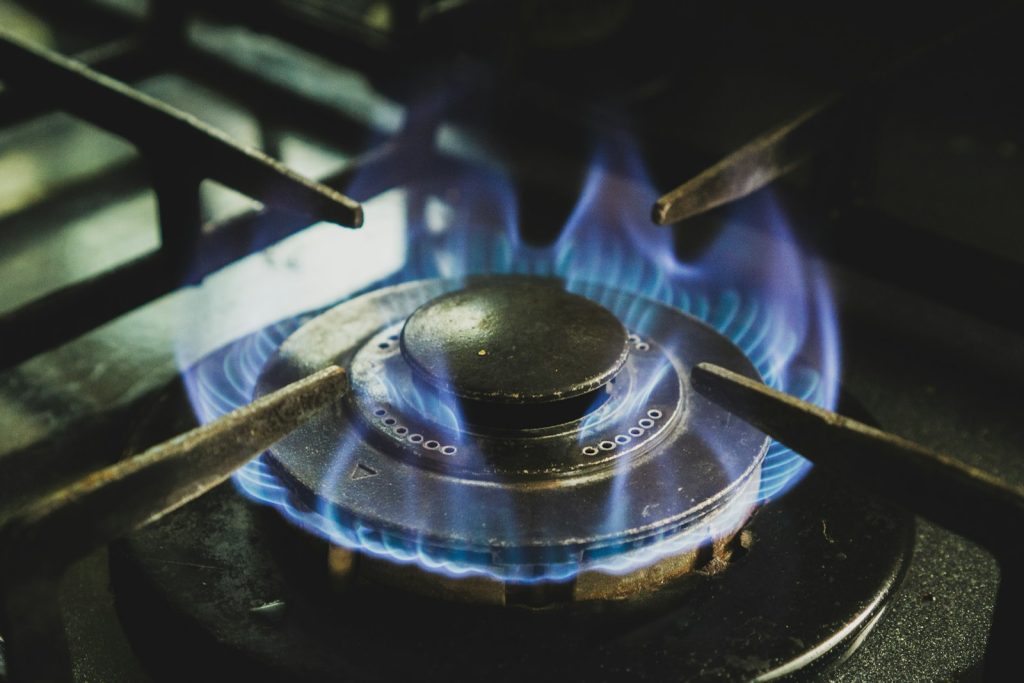
Restore gas or power, then light each burner individually and run the oven through a short preheat, watching for uneven flames, a gas smell, or an F-code on the display. Confirm the anti-tip bracket is actually engaged by gently trying to tip the front of the range forward with the door closed — it should not move. Our Electrolux range error-code guides cover any problem that appears during that first test.
Book Electrolux range service
If you would rather have it installed or a problem checked, our experienced, independent technicians fit and repair Electrolux ranges with genuine OEM parts and a 30-day labor warranty. Schedule a visit, see what our range repair service covers, or confirm your model details at electrolux.com.